MainStage Mondays: The Mixer Approach to Patches
Most keyboard players design song-specific patches that have the exact sound you need for each song, but there’s a less common, more organic way musicians sometimes design patches, called the “mixer” technique.
Using this method, a keyboardist adds several channel strips containing different sounds (i.e. organ on one channel, pad on the next, etc). The keyboardist then assigns faders to each sound, and “mixes” in the sound he likes most on each song. While I'm not a fan of this method for several reasons, I do find myself using this technique with my Nord Stage, and I'm sure it would seem more natural to some keyboardists. Here's how to set it up:
1. Open MainStage. Select the “keyboard” preset.

2. In the RH corner of the Channel Strips window, click the “+” button.
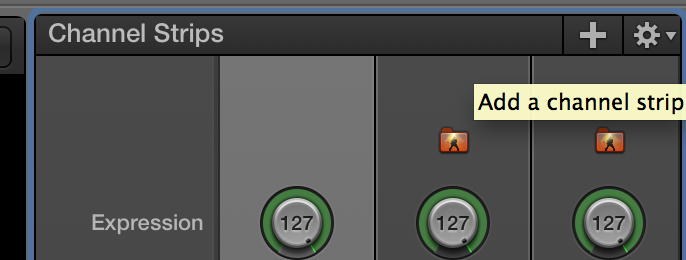
3. In the dialogue box that opens, change the channel strip count to “3”, make sure you’re creating an instrument channel, and then click “create”.

4. Select each instrument channel strip, and select a sound for each one. For this tutorial, we're going to use piano, pad, string, and organ sounds, but you can mix in as many different sounds as you like, and you’re not limited to four channel strips.

5. Hit command-1 to switch to the Layout screen.

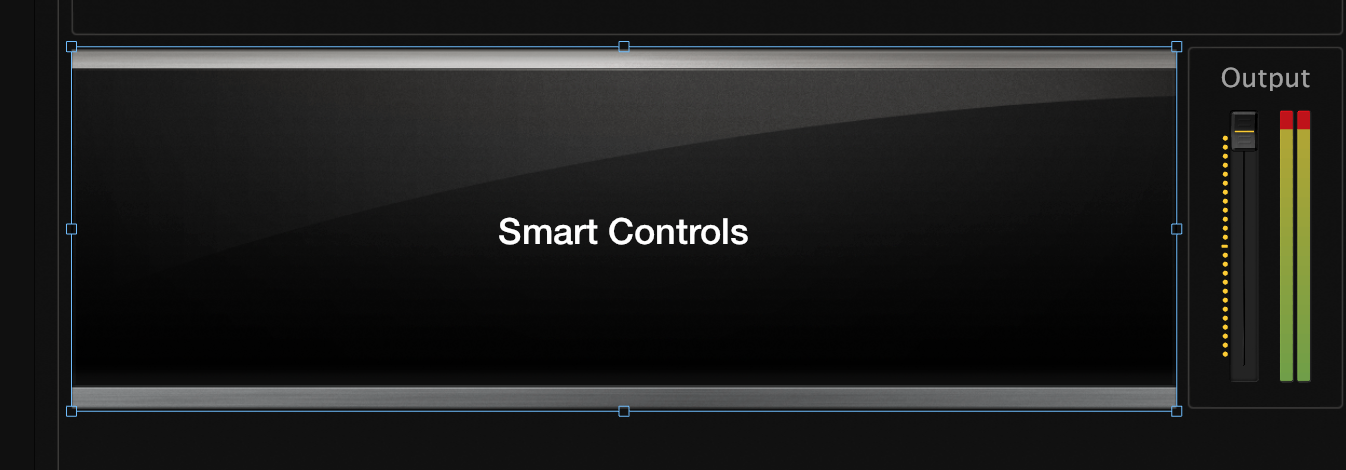
6. Select the “smart controls” window, and delete it.
7. Under the Screen Controls Palette, go to the “Grouped Controls” window and drag in “9 Round Knobs”.

8. Readjust it to fit the screen space you have.

9. Switch back to the Edit window by selecting Command- 2. Click on the first knob, and then select Piano>Expression. Repeat with all the other channel strips.

10. If you want to get fancy, switch back to Layout mode, and add adjust the size of the controllers, add labels, etc.
