My Story Of Restoring a Baldwin Piano
Over a year ago I repainted and restored a Baldwin Acrosonic upright piano with the help of my family. I’d been meaning to blog about it ever since, and I’ve finally found time to talk about it as much as I’d like. Here’s the story:
A friend of ours worked at jewish student union building in St. Louis, and they were gutting the inside for a remodel. All the furniture had to go, along with an Acrosonic upright in the meeting hall. I drove over with a trailer to check it out, and it was in amazingly good shape for being over 40 years old. We packed it up and brought it back to my studio.

Overall, I loved the color of the paneling on the piano, and it sounded great!
While the overall internals of the piano were in decent shape, I couldn’t say the same for the outside. There were chips all over, wax marks from candles, and even water damage on the top. With the help of my wife, brother, and father, we decided to redo the outside with a classy black finish.

The top was the worst, and had a lot of water damage from a leak in the roof of the student union.
We started by sanding the entire piano, thinking we’d be able to just stain the wood before darkening it.

My father working on sanding off the original finish.
Turned out that they’d cut a few corners and used wood filler to fix a large imperfection in the middle of the top board. After some debate, we decided to paint the entire piano, then lacquer it.

The pink spot is the imperfection in the wood. That's a pretty big imperfection.
We laid down several layers of paint, and waited for it to dry. Their were a few areas that we left uncovered, and they got a few particles in it that smudged the paint. We sanded over them before we put down the lacquer to dry overnight.
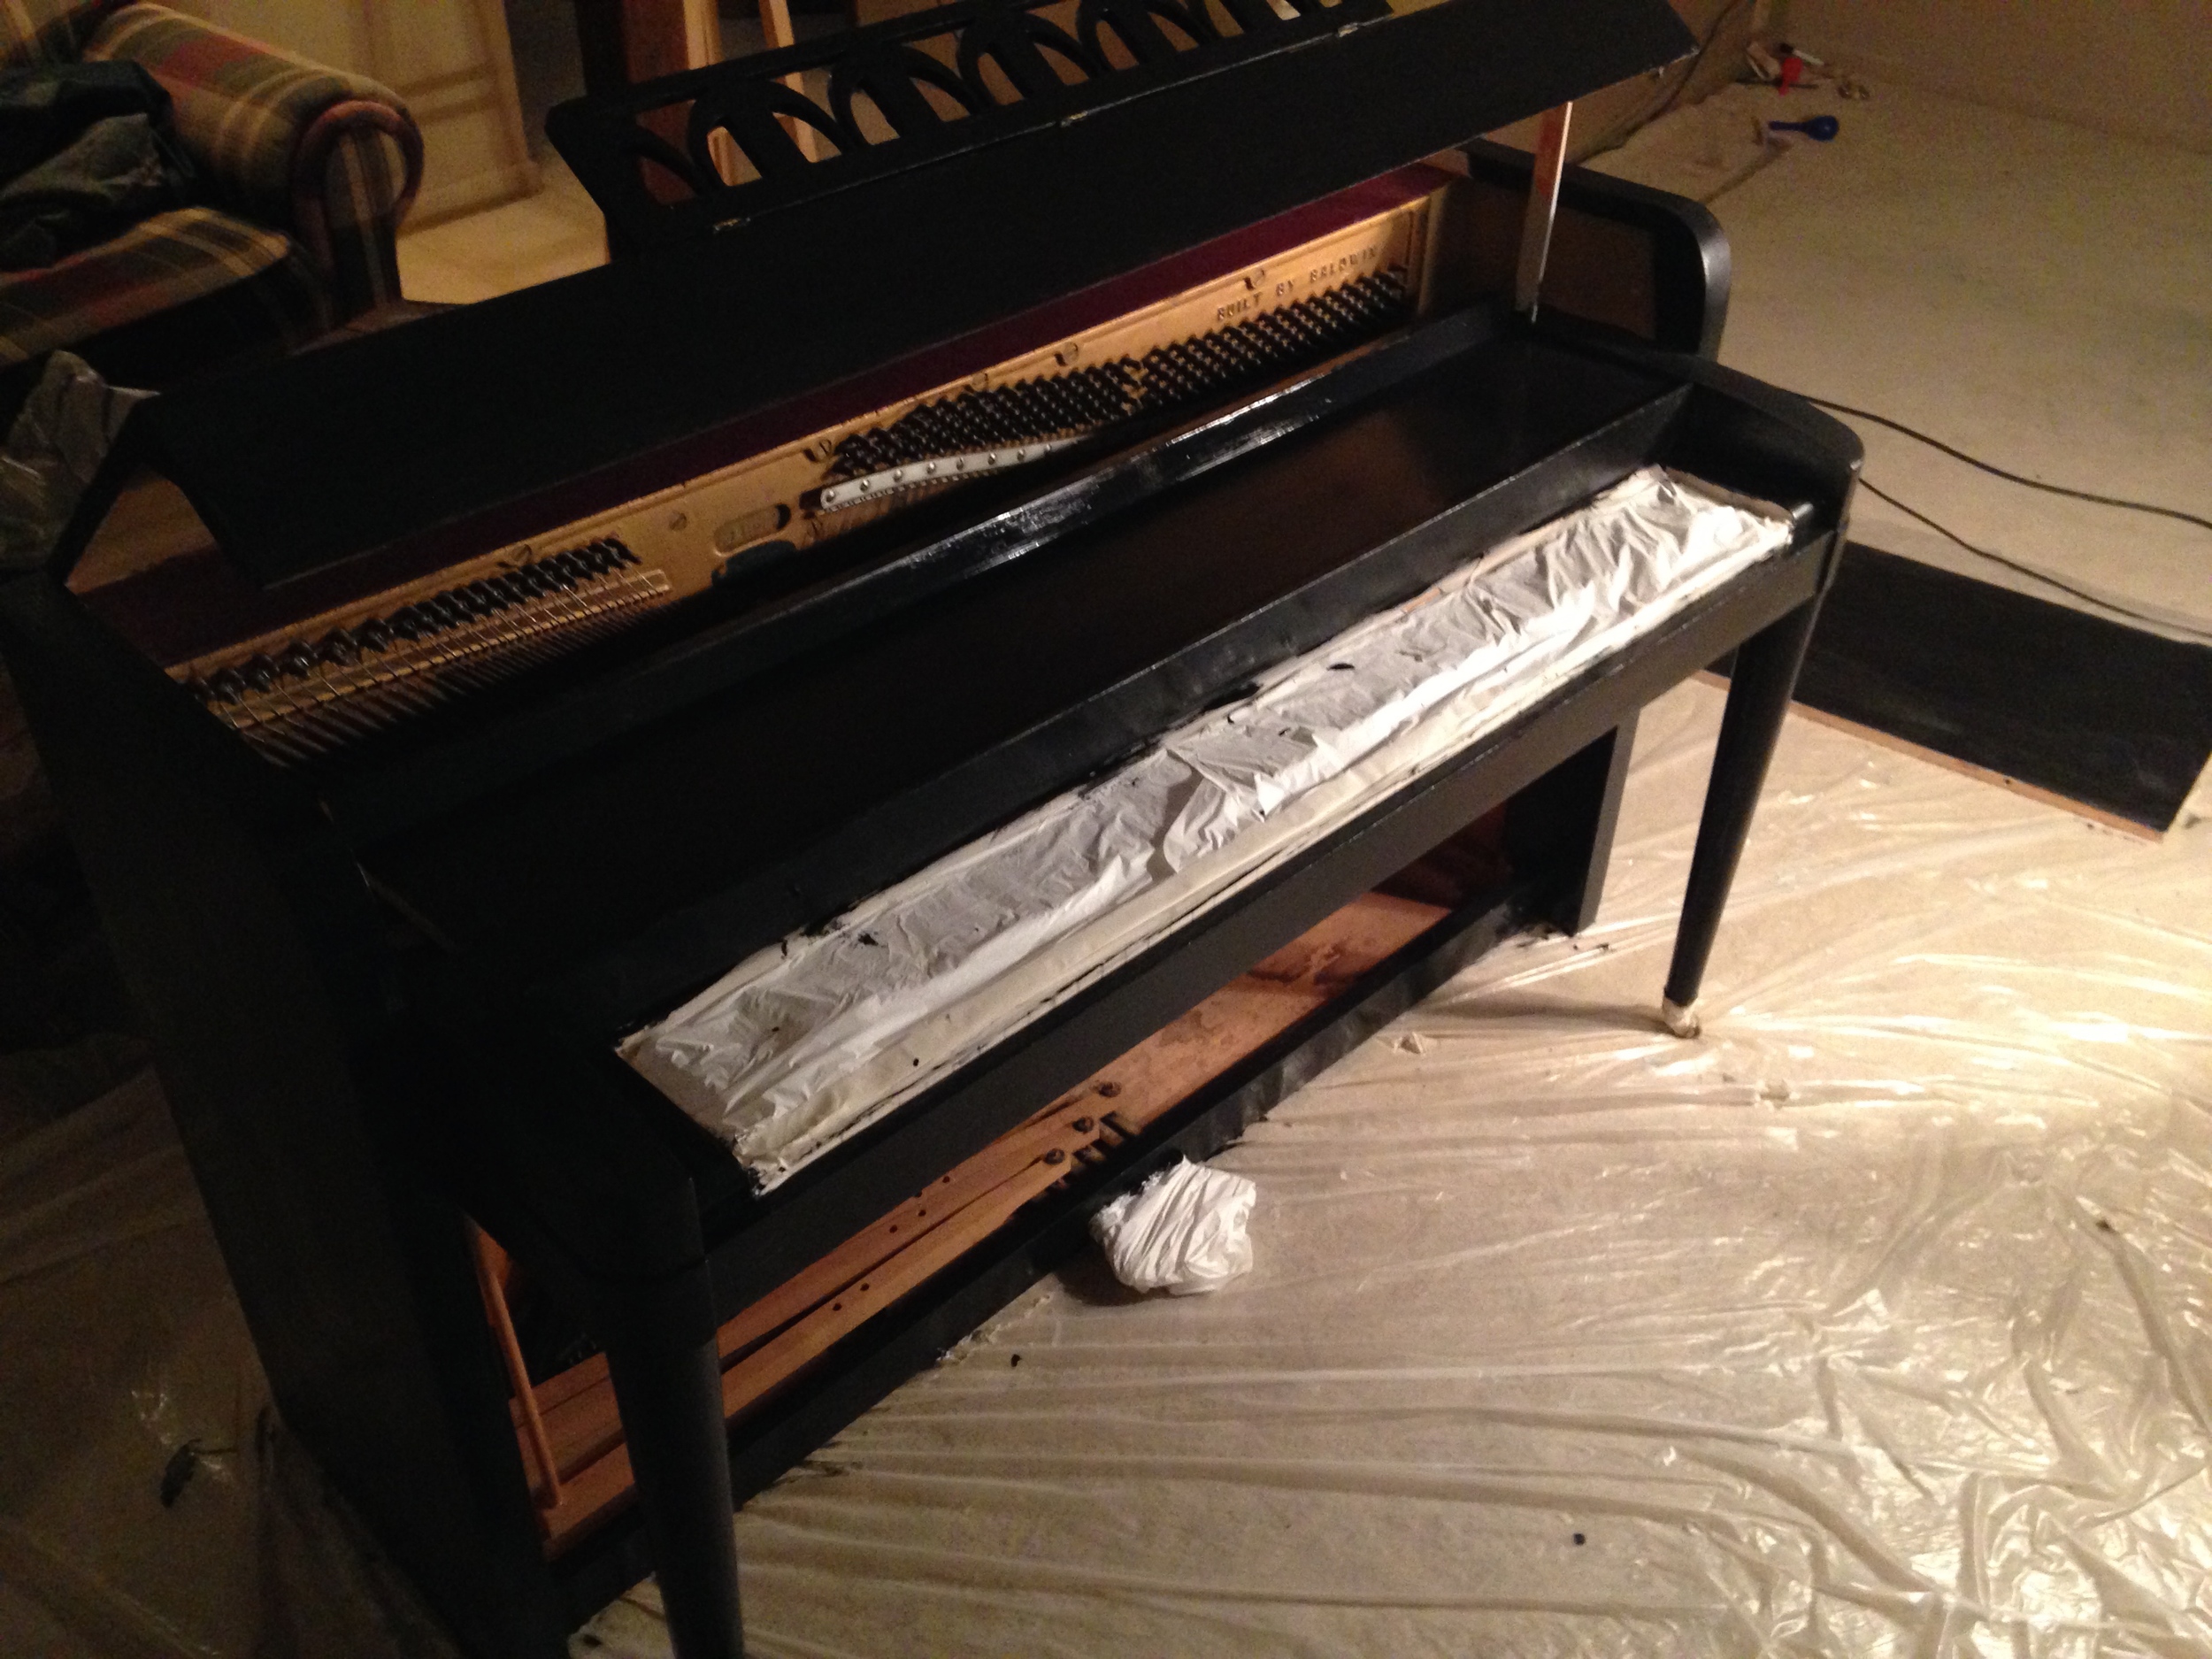
We took great pains to cover the keys, since the paint seemed to bond with the old plastic keys.
The next day we applied a final coat of clear lacquer, then I started working on a few small repairs on the internals. The sustain pedal had wiggled out of it’s bolt, and I adjusted that so that it properly released the strings. I oiled all the joints, cleaned it, and then slightly adjusted the bridge of the piano to give it a crisper tone. The following day I hired in a piano tuner, and it was finished. A free piano had transformed into a serviceable instrument that I’ll be playing for years to come.

The hard part: waiting for the paint to dry.
Got a story about a piano refurbishing experience? Share it below!